Infinity Mirror LED Cube
Have you ever seen something cool on the internet and had a burning desire to recreate it? Well that’s what happened here when I saw the video below.
Design
The concept of the design is that each side of the cube has one way mirrors, which are more reflective on one side and more see through on the other. By putting the reflective side on the inside of the cube the light from the LEDs reflects on the inside, while still letting some light out for you to see the effect.
Before starting the sketch I figured out what LEDS to use. I wanted high density LEDS so I settled on WS2812B individually addressable LED strips that had 60 LEDs per meter which worked out to 1.66 cm per LED. I chose to have 8 LEDS per side, so that it was an even number and easy to use in code. The LED strip had a width of 1 cm. Knowing this information, I could finally start the sketch.
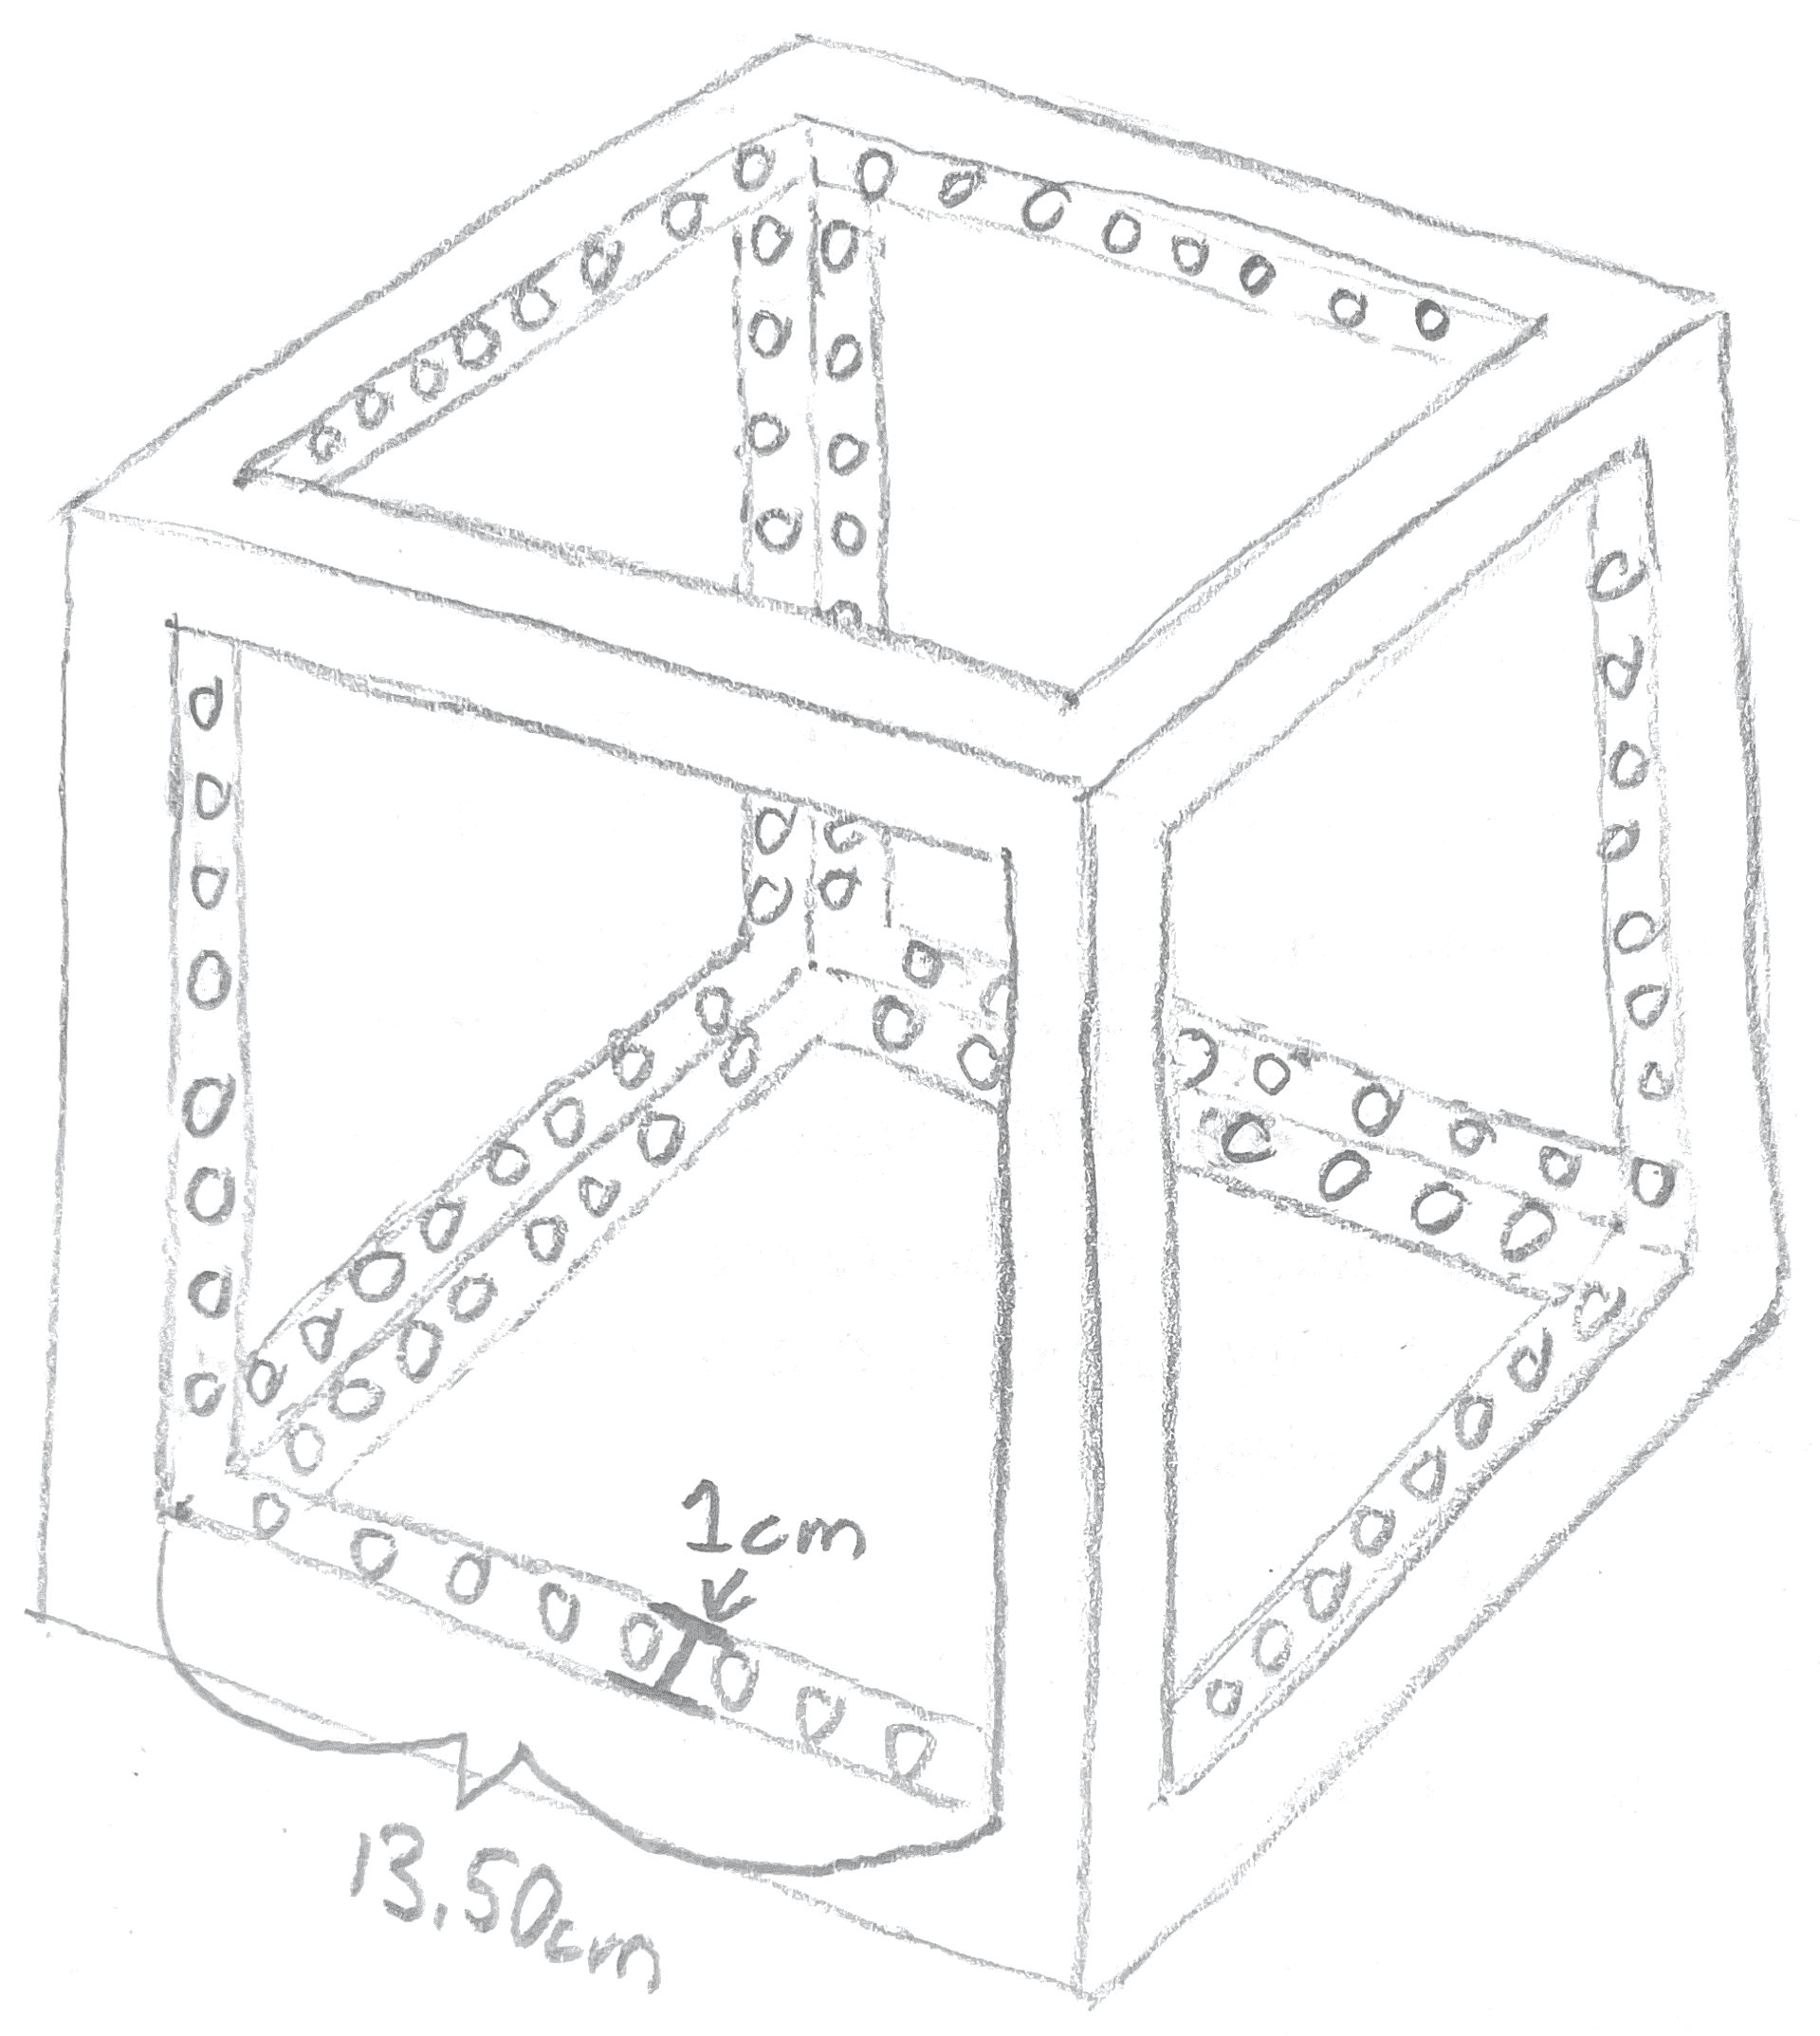
Given that I wanted 8 LEDs per side and each one was 1.66 cm long, that gave a length of Length of 13.33 cm. To account for the bend in the LED strip on each side, I decided on a side length of 13.50 cm.
With the sketch done I started designing the cube in Fusion 360, which is the CAD software I was the most familar with at the time. The cube consisted of two parts, a top piece and a bottom piece to make printing easy.
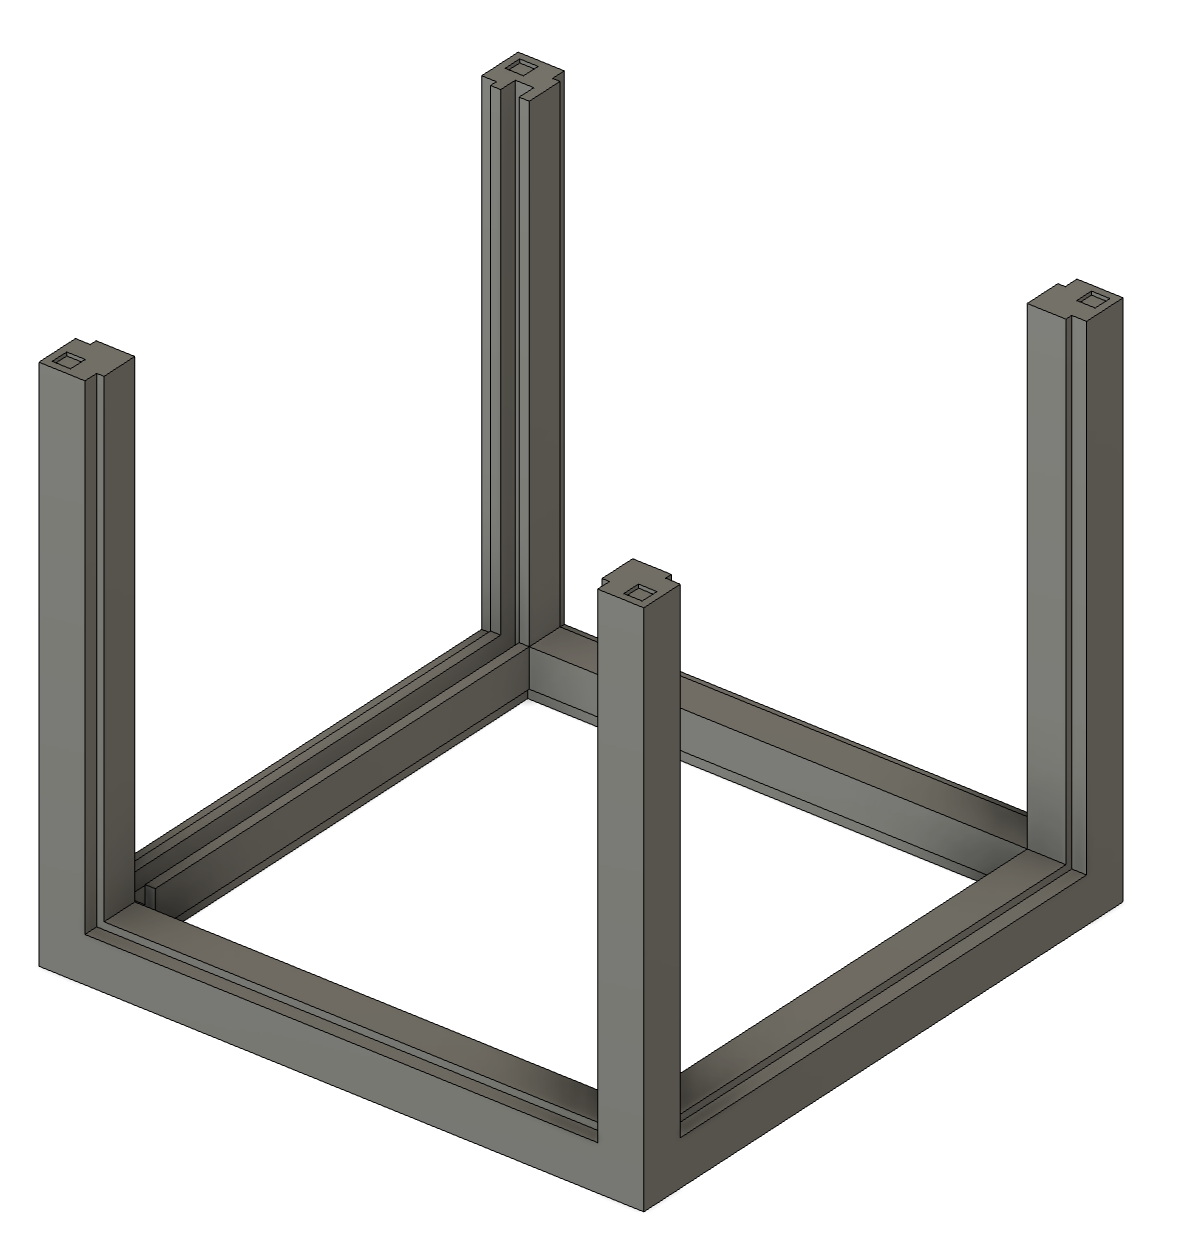
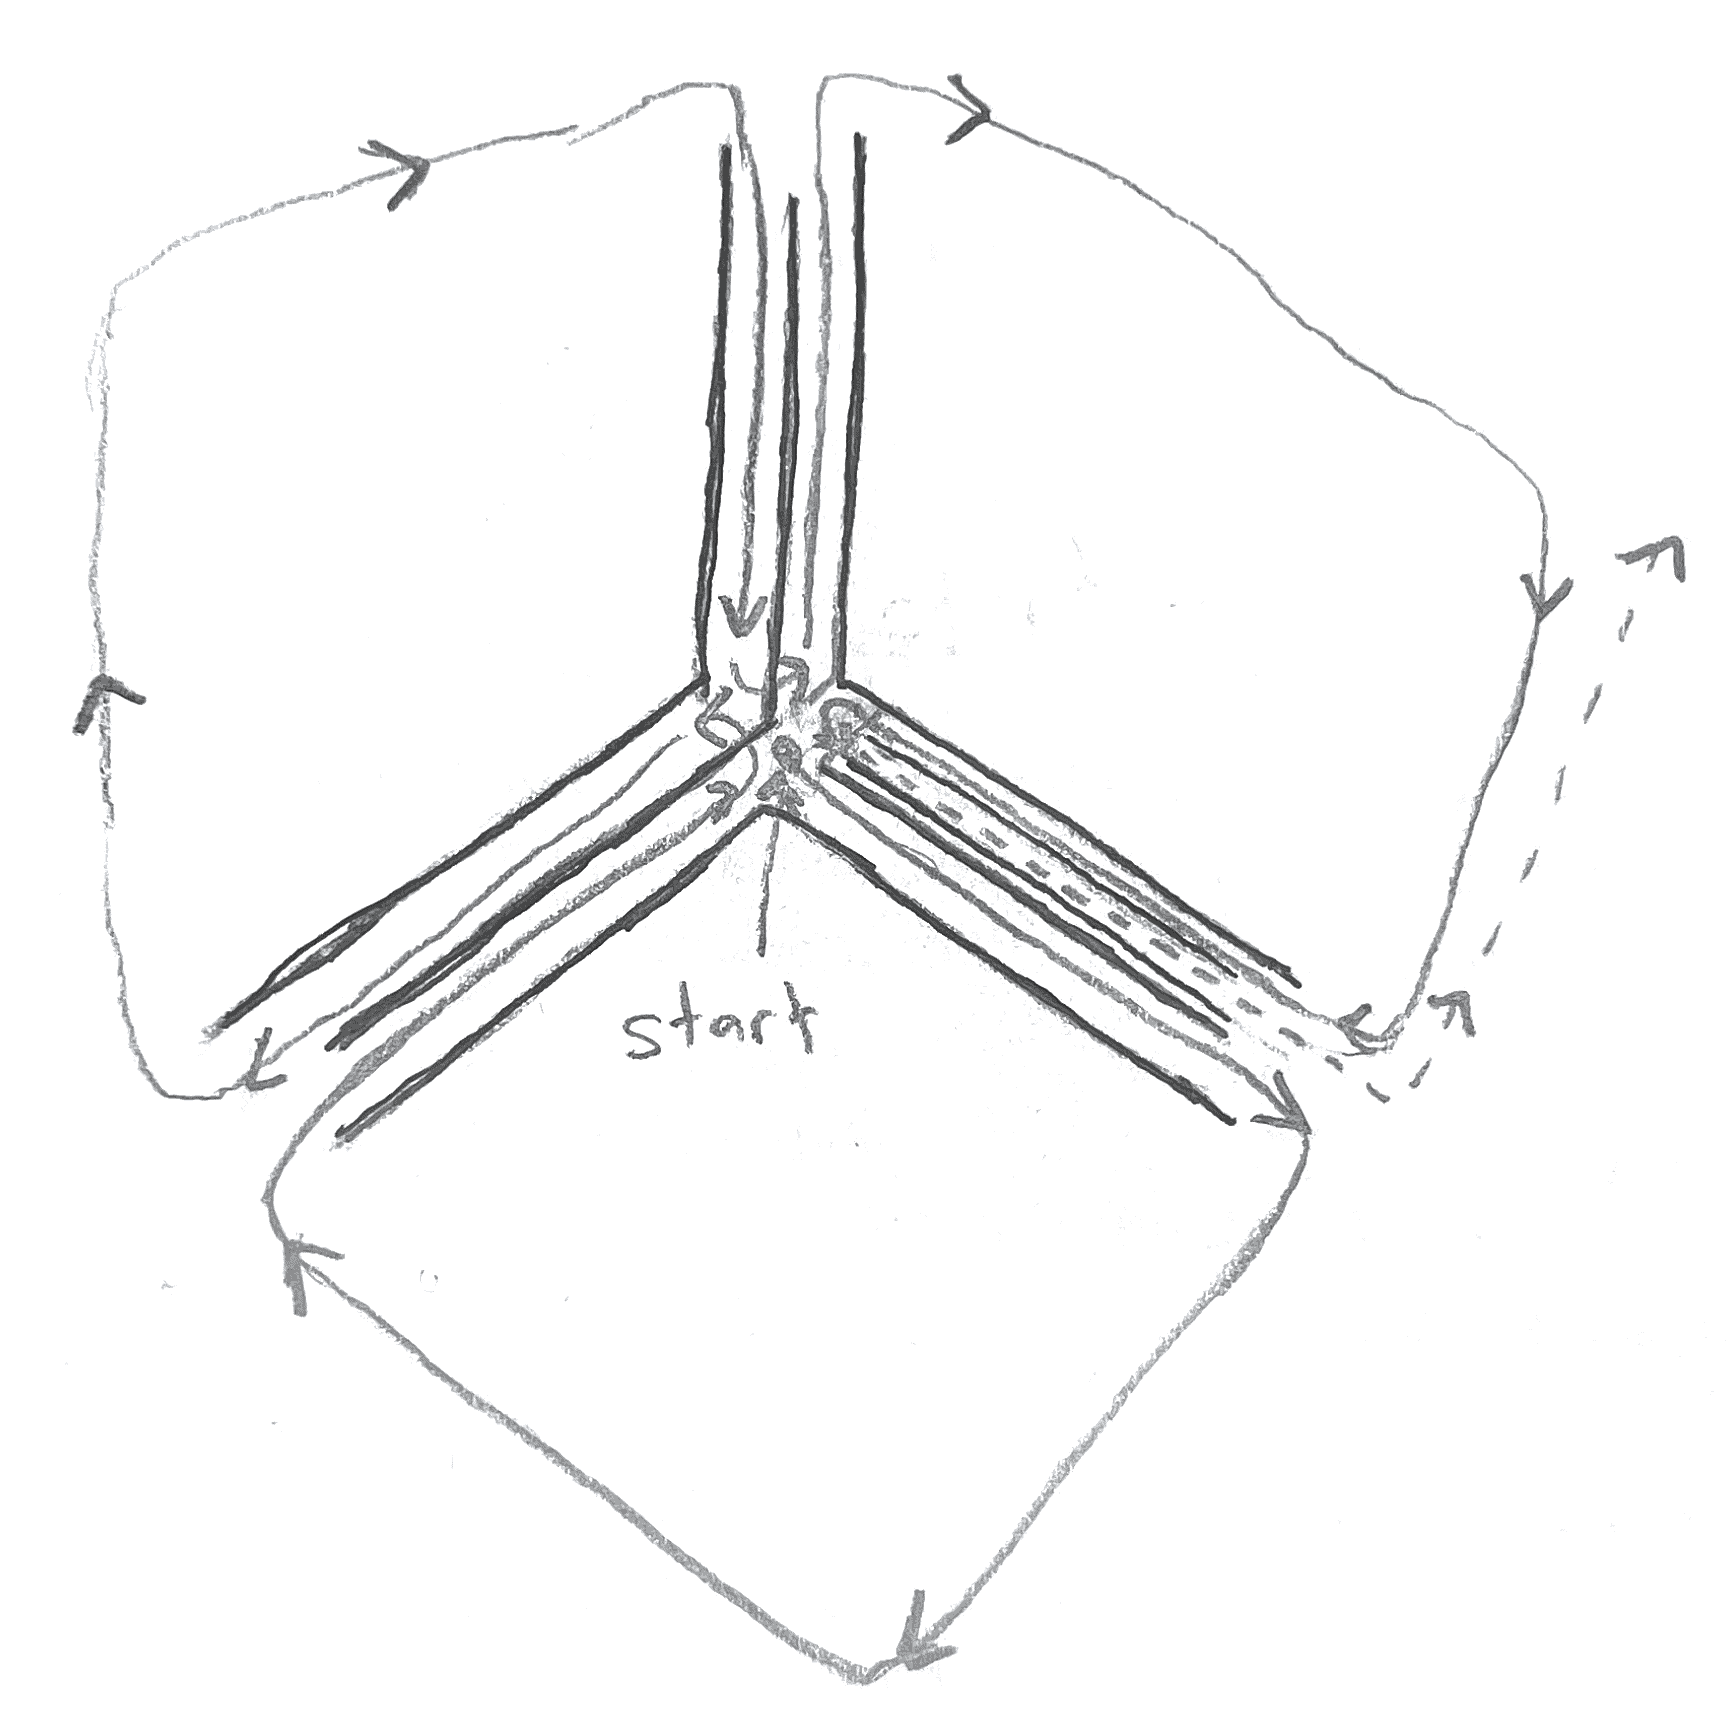
An important consideration was the wire routing, since the LED strip needed a continuous data wire running through the whole strip. To solve this issue, I designed a channel that runs through the cube’s walls from one corner to the opposite corner.
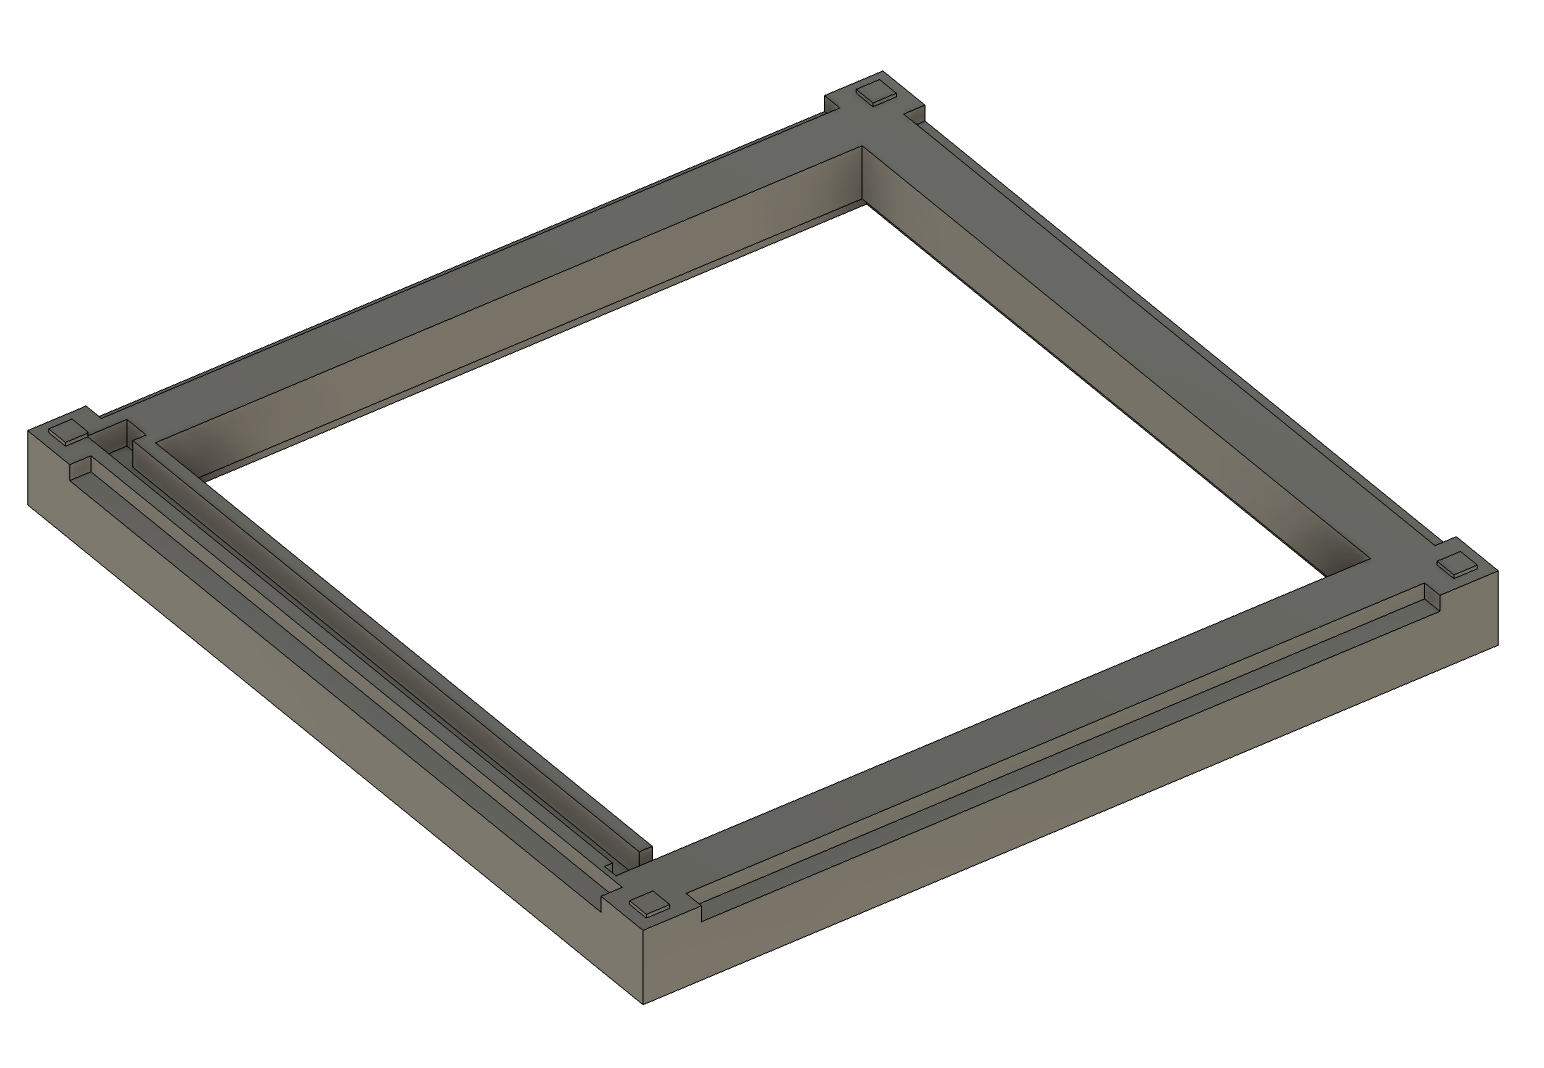
Small indents were added to the bottom and small notches were added to the top piece for easy alignment. The two pieces were secured with super glue.
Assembly
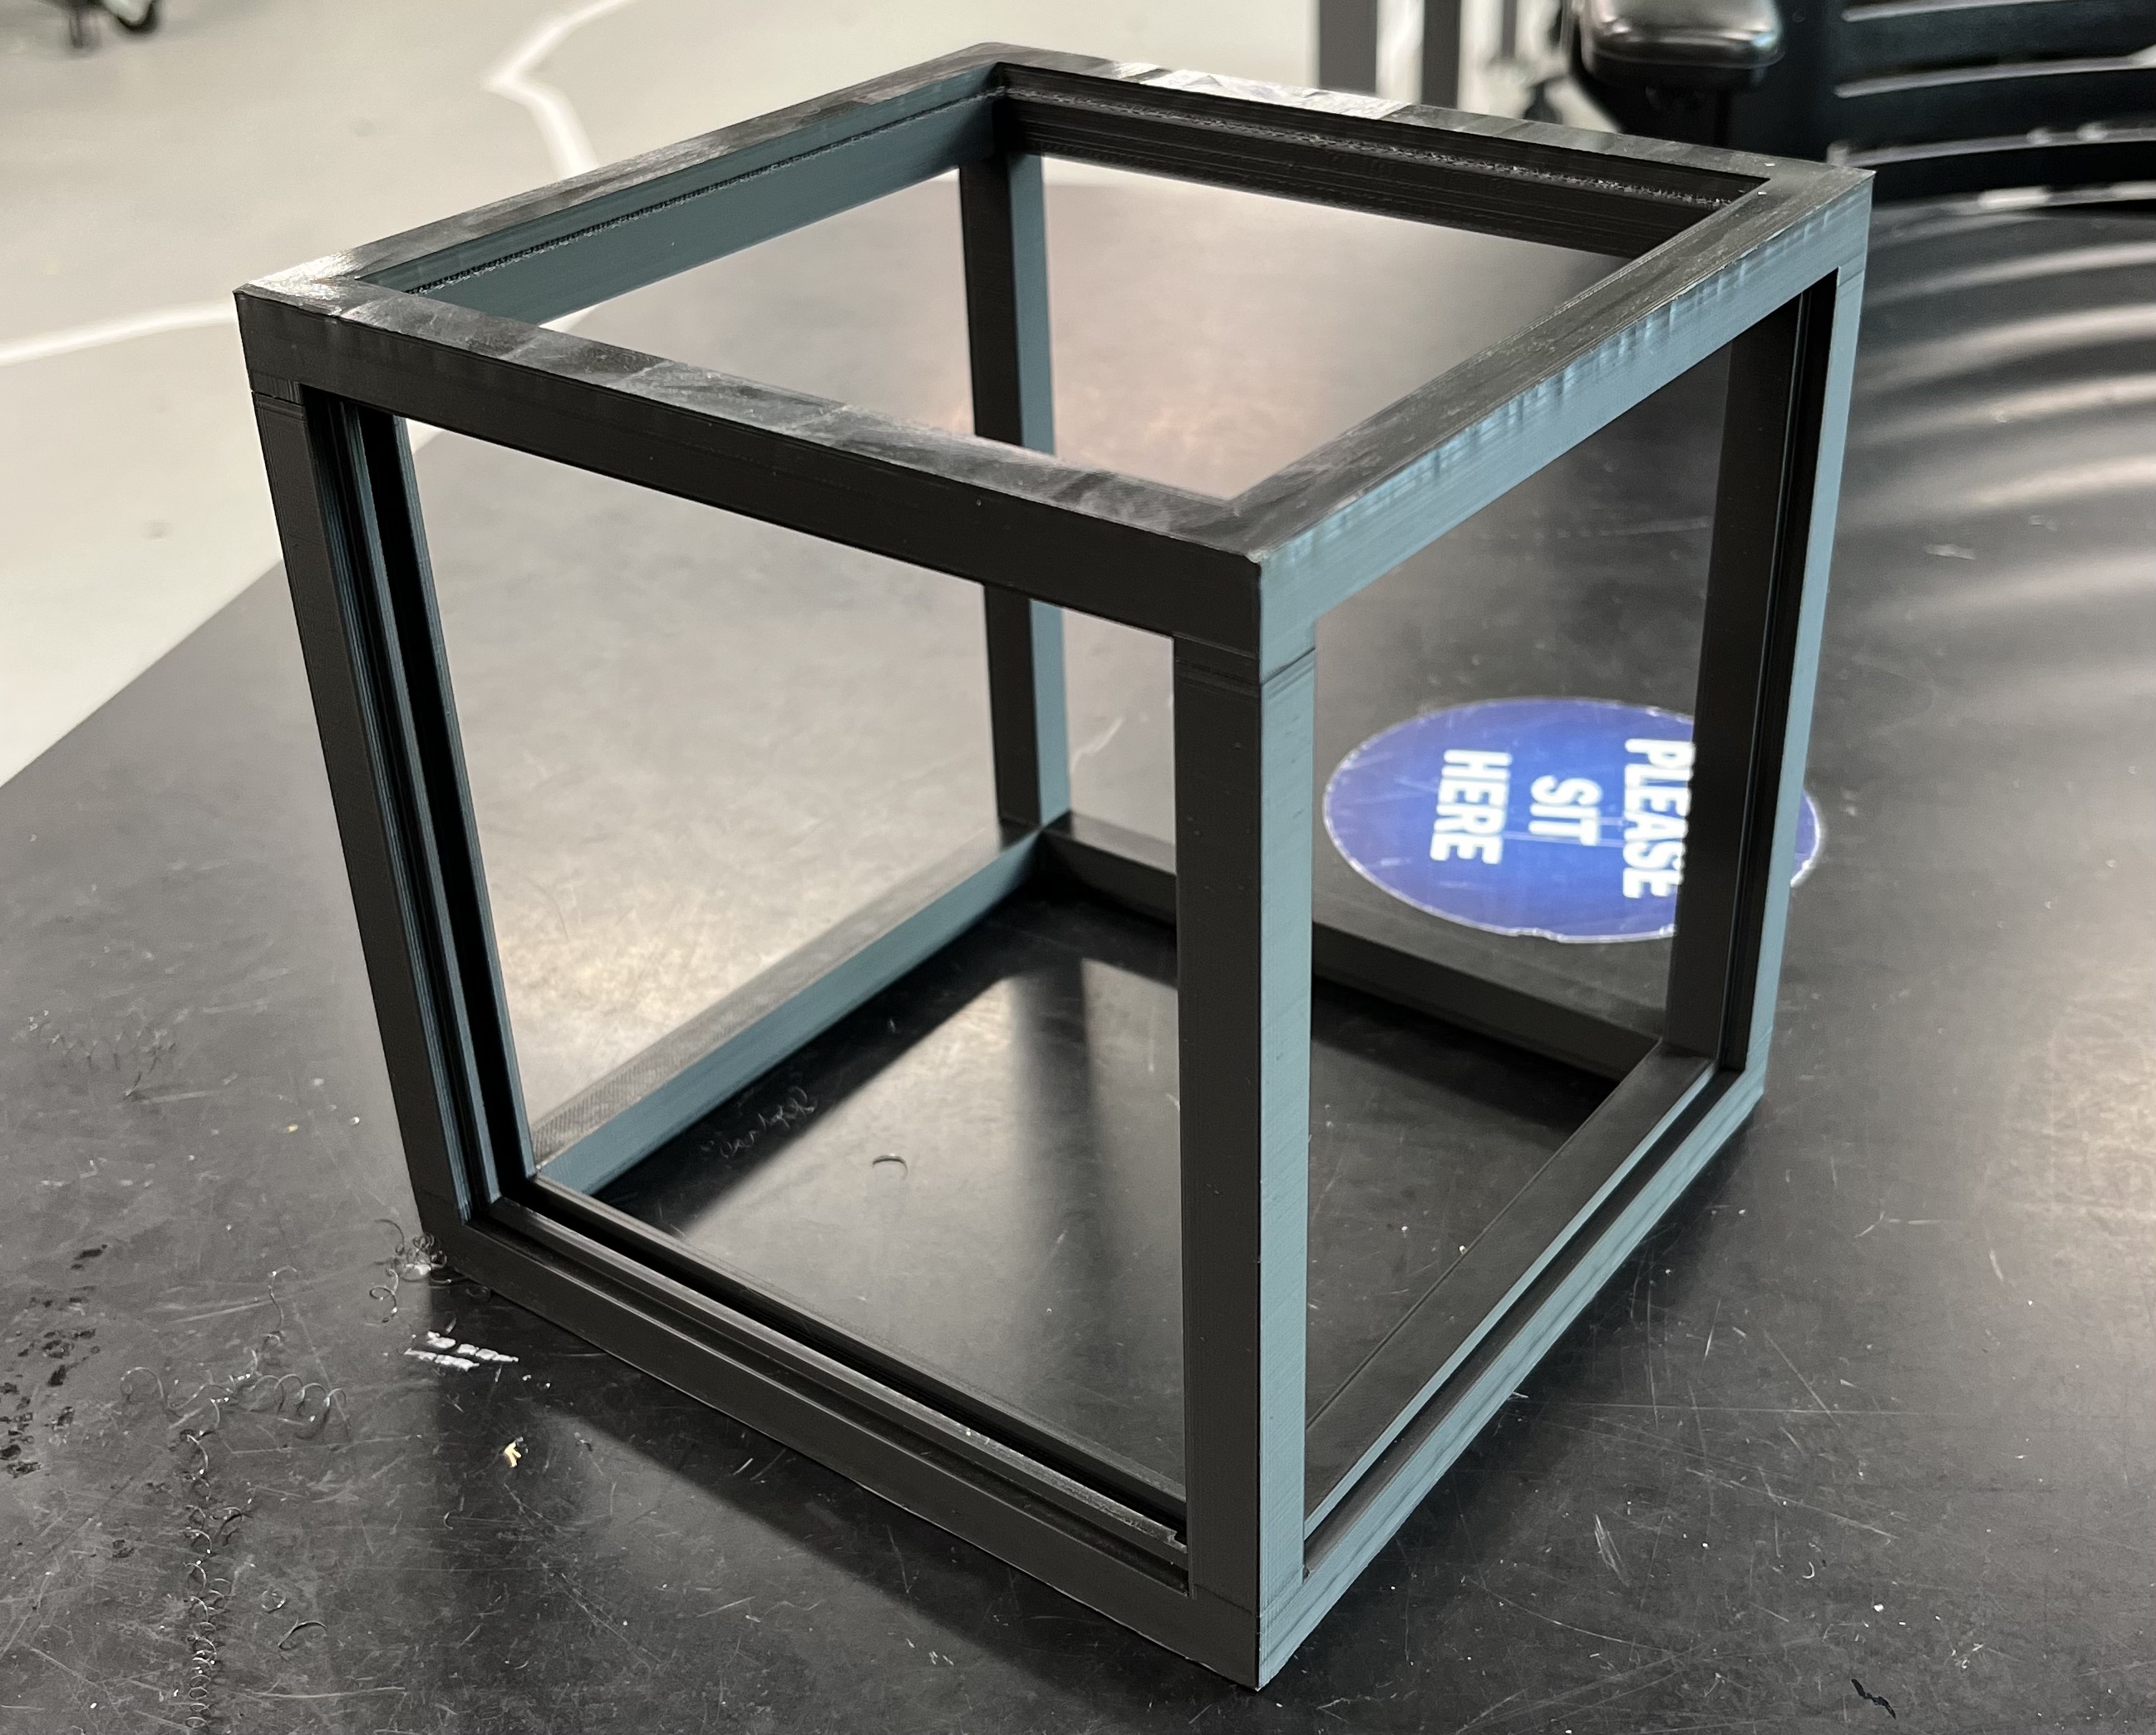
The two pieces were 3D printed using UVA’s Ultimaker S5 printers. The result of the print can be seen below. The cube was spray painted black to produce a more uniform finish.
The LED wire routing on one corner can be seen in the sketch below.
The cube with the LEDs attached and connections soldered can be seen below
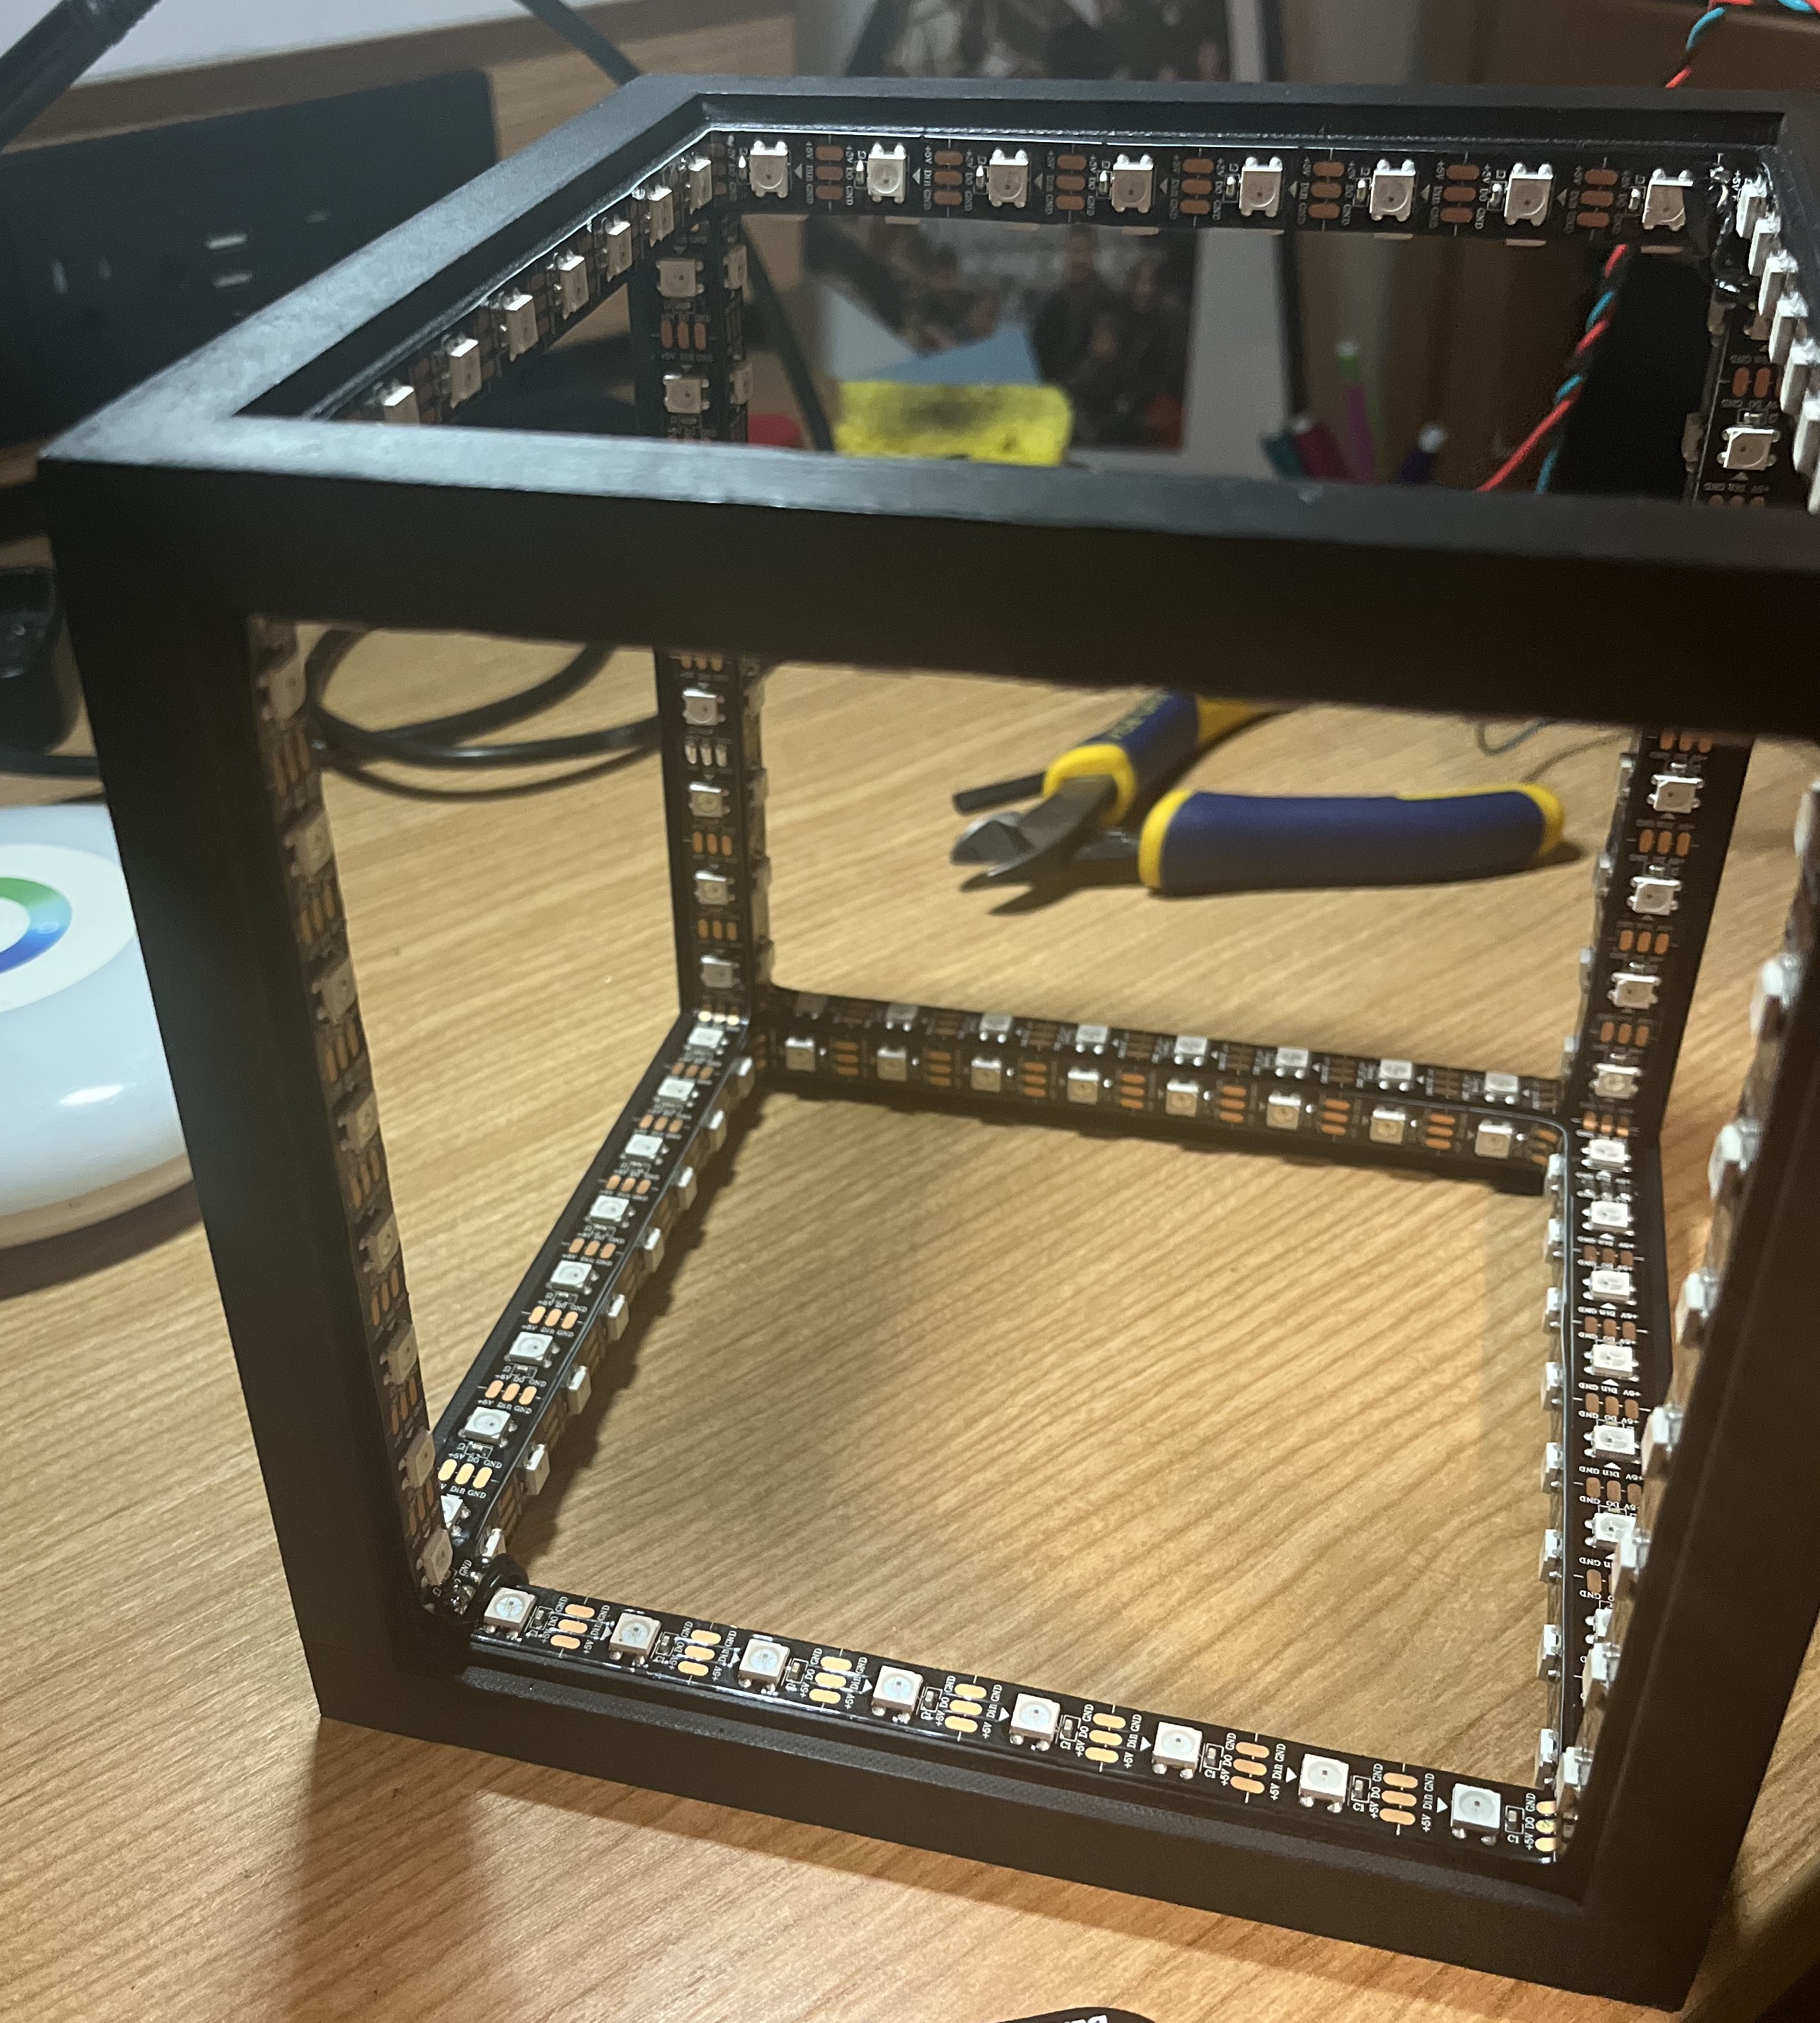
The hardest part of setting up the LEDs in the cube was soldering the corner wire jumps. Each corner had 6 wires going over and around each other in a tight space, which took some time and patience to solder good connections. The LEDs were controlled by an Arduino using the FastLED library, and a simple test confirmed that all the LEDs were functinal.
With the LEDs finished, I moved on to cutting the one way mirrors. UVA’s laser cutters made the job easy, and the following video shows a timelapse of the process.

Each panel was superglued onto each side of the cube with the reflective side facing in.
Final Product
With the cube functional, I could finaly start writing Arduino code to control to LEDs. The first program I wrote toggled the LEDs in the order that they were wired, as shown below.
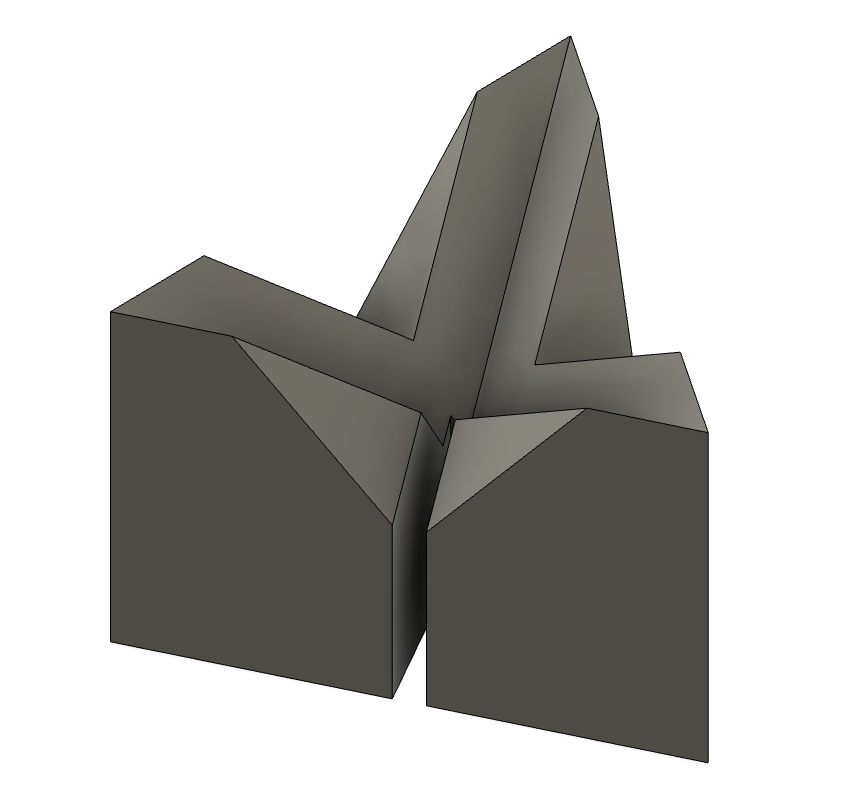
As a final touch, I designed and 3D printed a stand for the cube that holds it up by a corner.
Finally, I wrote some more complicated lighting patterns, with the following one being my favorite. It works by choosing 6 random colors at the bottom that rise, and at each intersection the colors mix together and continue upward.